First what you need to do is install Compiz Fusion from Git source. In order to do this follow this instructions.
Note: first uninstall the previous version of compiz, then follow the instructions.
Note 2: the installation takes a while, so when the terminal goes crazy, just leave it, it'll finish eventually.
Note 3: Restart the Computer
Note 4: in order to run Compiz Fusion Icon on start up go to System>Preferences>Sessions and add another item for Compiz.
After you successfully installed Compiz Fusion from git, it's time to install the stackswitch plugin. (Other experimental plugins will be installed, but on Hardy the stackswitch requires additional setup)
1.Open a terminal and write this command to download the nescessery files:
This will create a folder in your home folder named "stackswitch"
2. Go to the folder typing:
Remember to replace "username" with.... your username.
3. Then type the following lines one by one (once you are in the stackswitch folder)
4. Reload the window manager, and Stack Switch Plugin will appear in Settings Manager under Windows management.
Now you can use the plug in. Although I appreciate more the cube deformation.
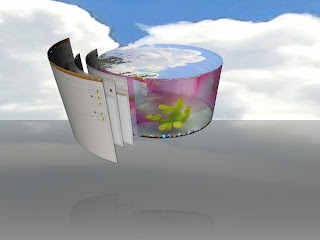
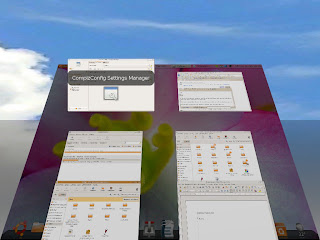
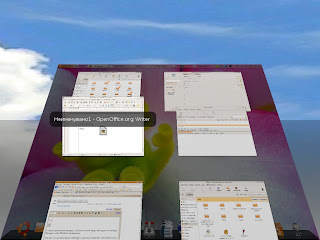
Screenshots of stackswitch, sphere, cilindar and the snow plug in.

My favorite, the Sphere. You can set it as screensaver under the screensaver plugin. (Flying windows are available as screensaver too).

The Cilindar (is this spelt correctly? Spellcheck gives me Celinda as alternative):

Snow. You're gonna love this.


The Stackswitcher.
1 comment:
Cylinder.
Post a Comment